How to Add Contact and Action Buttons to an Instagram Professional Profile
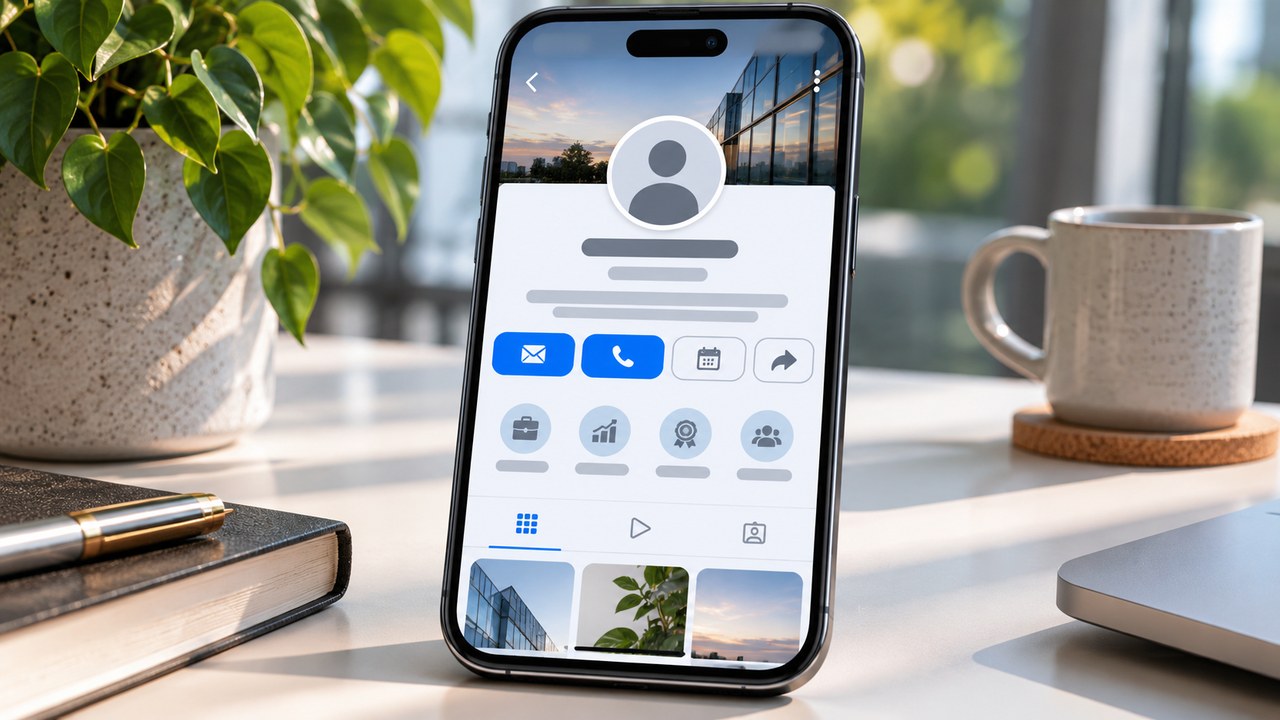
TL;DR: To add contact details, open the Instagram mobile app and go to Profile → Edit profile → Contact options. Enter your business email, phone number or other available details, save, then enable Display contact info under Profile display if needed. For booking or ordering, look under Edit profile → Action buttons, choose an available action and connect its supported provider. Some versions place this menu inside Contact options. Business and Creator accounts support professional contact information, while partner booking integrations commonly require a Business account.
Someone has seen your work, opened your profile and decided to enquire. What happens next? A clearly configured email option can put them in touch with the right person. A booking button can take them to a calendar while their interest is still fresh.
At Dumpor, we recommend choosing the next step before adding the button. A client arranging a bespoke commission may need a conversation. A returning salon customer may already know which appointment to book. Your profile should make that particular task easy.
Contact buttons and action buttons serve different purposes
Contact options let visitors reach your business through the details you provide. Depending on the profile and app layout, people may see a Contact button opening a list, or individual options such as Email or Call.
Action buttons connect a profile to a particular task. Book now may open an appointment scheduler, while Reserve can lead to a restaurant reservation service. A supported provider usually supplies the booking or ordering process.
|
Option |
What the visitor can do |
What you need to prepare |
|---|
|
Email |
Open an email addressed to your business |
An inbox someone monitors |
|
Call or a supported text option |
Contact your business phone |
A suitable number with the correct country code |
|
Directions, where offered |
Find your customer-facing location |
An accurate business address |
|
WhatsApp |
Start a conversation with your business |
A compatible WhatsApp Business connection |
|
Book now |
Choose an available appointment |
A supported scheduling account and published availability |
|
Reserve |
Request or make a reservation |
An available reservation partner |
|
Order food |
Access an ordering service |
A supported provider and active restaurant listing |
|
Lead form, if available |
Submit an enquiry |
A configured form and a process for following up |
Check your account and prepare the destination
Professional accounts include Business and Creator. Both can provide professional contact information. The booking instructions published by providers such as Square, Acuity and Setmore specify an Instagram Business profile.
If you use a Creator account, first inspect Edit profile for the controls you need. Check the provider’s account requirements before changing your profile type. If its integration requires Business, decide whether that account type suits your work or whether a booking link in your bio would meet the need.
For a personal account, open the profile menu, find Account type and tools, and choose Switch to professional account. Follow the prompts to select a category and account type. Professional profiles are public, so review that change before confirming.
Prepare the details you want customers to use:
-
A business inbox that receives and sends messages successfully.
-
A phone number you are comfortable making available to visitors.
-
A public business address if customers visit the location.
-
Access to the relevant booking or ordering provider.
-
The correct business, branch and service listing within that provider.
Your category can help visitors identify the business before contacting it. Review how to choose or hide your Instagram category label when completing the profile.
How to add an email or phone contact button
Use the current Instagram mobile app on iPhone or Android. Confirm the account name before editing, especially if you manage several profiles on the same device.
-
Open your professional profile.
-
Tap Edit profile.
-
Find Contact options in the professional information section.
-
Enter your business email address or business phone number.
-
If a phone contact preference is offered, choose the available method you intend to use.
-
Save with Done, the checkmark or the confirmation control shown.
-
Return to Edit profile → Profile display.
-
Enable Display contact info if the information is currently hidden, then save.
-
Check the profile from another account and open the contact option.
Your public contact email is entered in the professional profile editor. If you are looking at account login or recovery settings, return to Edit profile to find the customer-facing field.
The final presentation may be a single Contact menu. Open it to check the available methods before assuming that an individual Email or Call button is missing.
How to add a WhatsApp contact option
WhatsApp Business provides a connection to Instagram professional accounts. Before starting, update both apps and confirm that the WhatsApp Business number is the one customers should contact.
One documented setup route starts in WhatsApp Business:
-
Open the Tools tab.
-
Select Facebook & Instagram, then Instagram.
-
Tap Continue to open the Instagram sign-in flow.
-
Sign in to the intended professional account.
-
Confirm the account details and approve the connection.
-
Return to WhatsApp Business and check that the Instagram account is listed.
-
Inspect your Instagram profile and test the WhatsApp contact option.
Some Instagram versions also provide a WhatsApp Business phone-number field inside Contact options. If you use that route, complete the verification prompts shown.
How to add a Book now, Reserve or Order food button
Have the provider account ready before opening Instagram. For a booking service, publish the appointments customers can select and check the calendar. For a restaurant, verify the branch and reservation or ordering page.
-
Open your Instagram Business profile and tap Edit profile.
-
Under Public business information, select Action buttons.
-
If that entry is absent, check Contact options → Add an action button.
-
Choose an available action, such as Book now, Reserve or Order food.
-
Select a supported provider from the list.
-
Follow its connection process. This may involve signing in, selecting a business or supplying a supported destination.
-
Review the account and location being connected.
-
Complete the approval screens and save.
-
Return to the profile and test the button as a visitor.
The exact sequence depends on the integration. In some flows you choose the provider first and its supported button follows. In others, Instagram asks you to choose the action before displaying compatible services.
Example using Square Appointments
Square’s instructions take you through Edit profile → Contact options → Add an Action Button. Select its appointments integration, sign in and choose the business account associated with your bookings. Review the settings, continue and refresh your profile.
Other providers can impose different conditions. Acuity requires an eligible subscription and specifies that the person connecting it must own that subscription. Check your provider’s current instructions if the sign-in succeeds but the connection fails.
What to do when your booking service is missing
Search the available partner list carefully. A provider may appear under its product name. If it is absent, check whether it offers setup through its own integrations page.
You can also put your published booking page in the profile’s Links section. Give it a clear title, such as Book a consultation, and direct visitors to that title from your bio.
This approach is useful for creators, unsupported providers and businesses whose booking process starts on their own website. Our guide explains how to add and arrange multiple Instagram bio links.
Adding a lead form when the option is available
Some Business accounts have Add lead form within the action-button setup. If your editor offers it, follow the prompts to configure the available fields and publish the form. Ask for the information your team needs to answer an enquiry, then check where submissions appear and assign someone to review them.
If the option is unavailable, a contact-form link in your bio can provide a practical route for enquiries.
How to edit, hide or remove profile buttons
For a changed email address or phone number, return to Edit profile → Contact options, update the relevant field and save. Check the destination from the public profile afterwards.
To hide the contact details, open Profile display and turn off Display contact info. To remove a particular contact method, edit or clear its field where the app allows it.
For a booking or ordering action, reopen Action buttons or the button settings inside Contact options. Select the active action and look for Remove action button or a provider-specific removal command. Confirm and inspect the profile again.
If you are replacing a booking provider, prepare and test the new calendar first. Then update the connection and check the entire customer journey. Review any bio link that still points to the previous service.
Why your Instagram contact or action button is missing
Begin with the part of the process that failed. A saved email hidden from visitors needs a different check from a booking provider that refuses to connect.
|
What you notice |
What to check |
Next step |
|---|
|
No Contact options field |
Current account type |
Confirm you are editing a professional profile |
|
Contact details are saved but hidden |
Profile display |
Enable Display contact info and save |
|
No individual Email button |
Public Contact menu |
Open the menu and inspect its methods |
|
No Book now option |
Account and provider eligibility |
Check Business requirements and supported integrations |
|
Provider cannot be selected |
Current partner list |
Check the provider’s integration instructions |
|
Connection opens the wrong business |
Selected provider account or branch |
Correct the association and test again |
|
Calendar opens with no appointments |
Provider availability and service settings |
Check published services, dates and staff |
|
Connection fails after sign-in |
Permissions and linked accounts |
Review the provider’s stated requirements |
Update Instagram and reopen the editor if a control behaves inconsistently. Keep a note of the exact error, the provider name and the stage where the process stops.
For an Instagram interface problem, use its Help → Report a problem route. For a calendar that loads but shows the wrong services, begin with the scheduling provider. That distinction helps the report reach the team able to inspect the relevant settings.
Test the button before inviting people to use it
View the profile from another account. Open every enabled contact method and confirm the destination. For an email option, check the recipient address. For a booking button, inspect the business name, service list, prices, time zone and available dates.
A visible button is only the first check. Continue far enough to understand what a new customer must do, including whether an account, deposit or approval is required.
FAQ
Can Creator accounts add contact and action buttons?
Why can I see a Contact button but no Email or Call button?+
Instagram may group multiple methods inside one Contact menu. Open that menu from a visitor account and check what it contains. If an expected method is missing, return to Contact options, confirm the saved details and inspect Profile display. The arrangement of the buttons can differ between account layouts and app versions.
Do I need a Facebook Page for a booking button?+
That depends on the integration. Setmore documents a linked Facebook business Page as a requirement, while other services provide their own connection routes. Follow the instructions for the provider you are connecting. If a Page is required, check that it is the correct business Page and that you have the necessary access.
Can I add several booking or ordering action buttons?+
The standard partner setup generally displays one active action button at a time, as documented by Square. Choose the task that best matches your primary customer journey. Contact methods and profile links offer additional routes, so you can still give visitors a way to ask a question or find another service.
Can I connect Book now to any website address?+
A partner action button uses the supported connection process available in its setup. If your scheduling service is absent, add the published booking URL through the Links section of your profile. Choose a descriptive title and test the page on a phone before directing customers there.
Can I change the text on an Instagram action button?+
The available labels are determined by Instagram and the integration. Choose from the actions offered in the editor. If you need more specific wording, use the written bio or a profile-link title to explain the task. For example, a general Book now button can be supported by a bio sentence identifying the consultation customers will schedule.
Is adding a Contact or Book now button free?+
Adding ordinary contact information does not require an advertising campaign. A booking or ordering service may charge subscription, transaction or other fees according to its own terms. Check your provider’s plan and integration requirements, particularly before creating a new account solely to connect it to Instagram.
Will hiding my category label hide my contact details?+
Category and contact visibility use separate settings. Review the Display contact info control if you want to hide the contact methods. Also inspect your written bio for any email address or phone number entered as text. Those details have their own place in the profile editor.
Why does the booking button work but show no available times?+
Check the scheduling provider’s settings for published services, staff hours, booking limits and location. A connected calendar can be functioning correctly while offering no appointments for the selected service or date. Compare the Instagram destination with the booking page you normally send to customers, then correct any difference in the provider account.
Can Dumpor add these buttons to my Instagram account?+
Set up and manage the buttons inside Instagram and the relevant provider account. Dumpor’s tools help you browse available public Instagram content. If you have a question about a Dumpor tool, describe the viewer you used and the result you expected so our team can understand the issue.
Have a question about using Dumpor for public-profile research? Send the Dumpor team a request with the tool name, the public profile involved and a short description of what you need to check.

 Telegram bot
|
TikTok Viewer