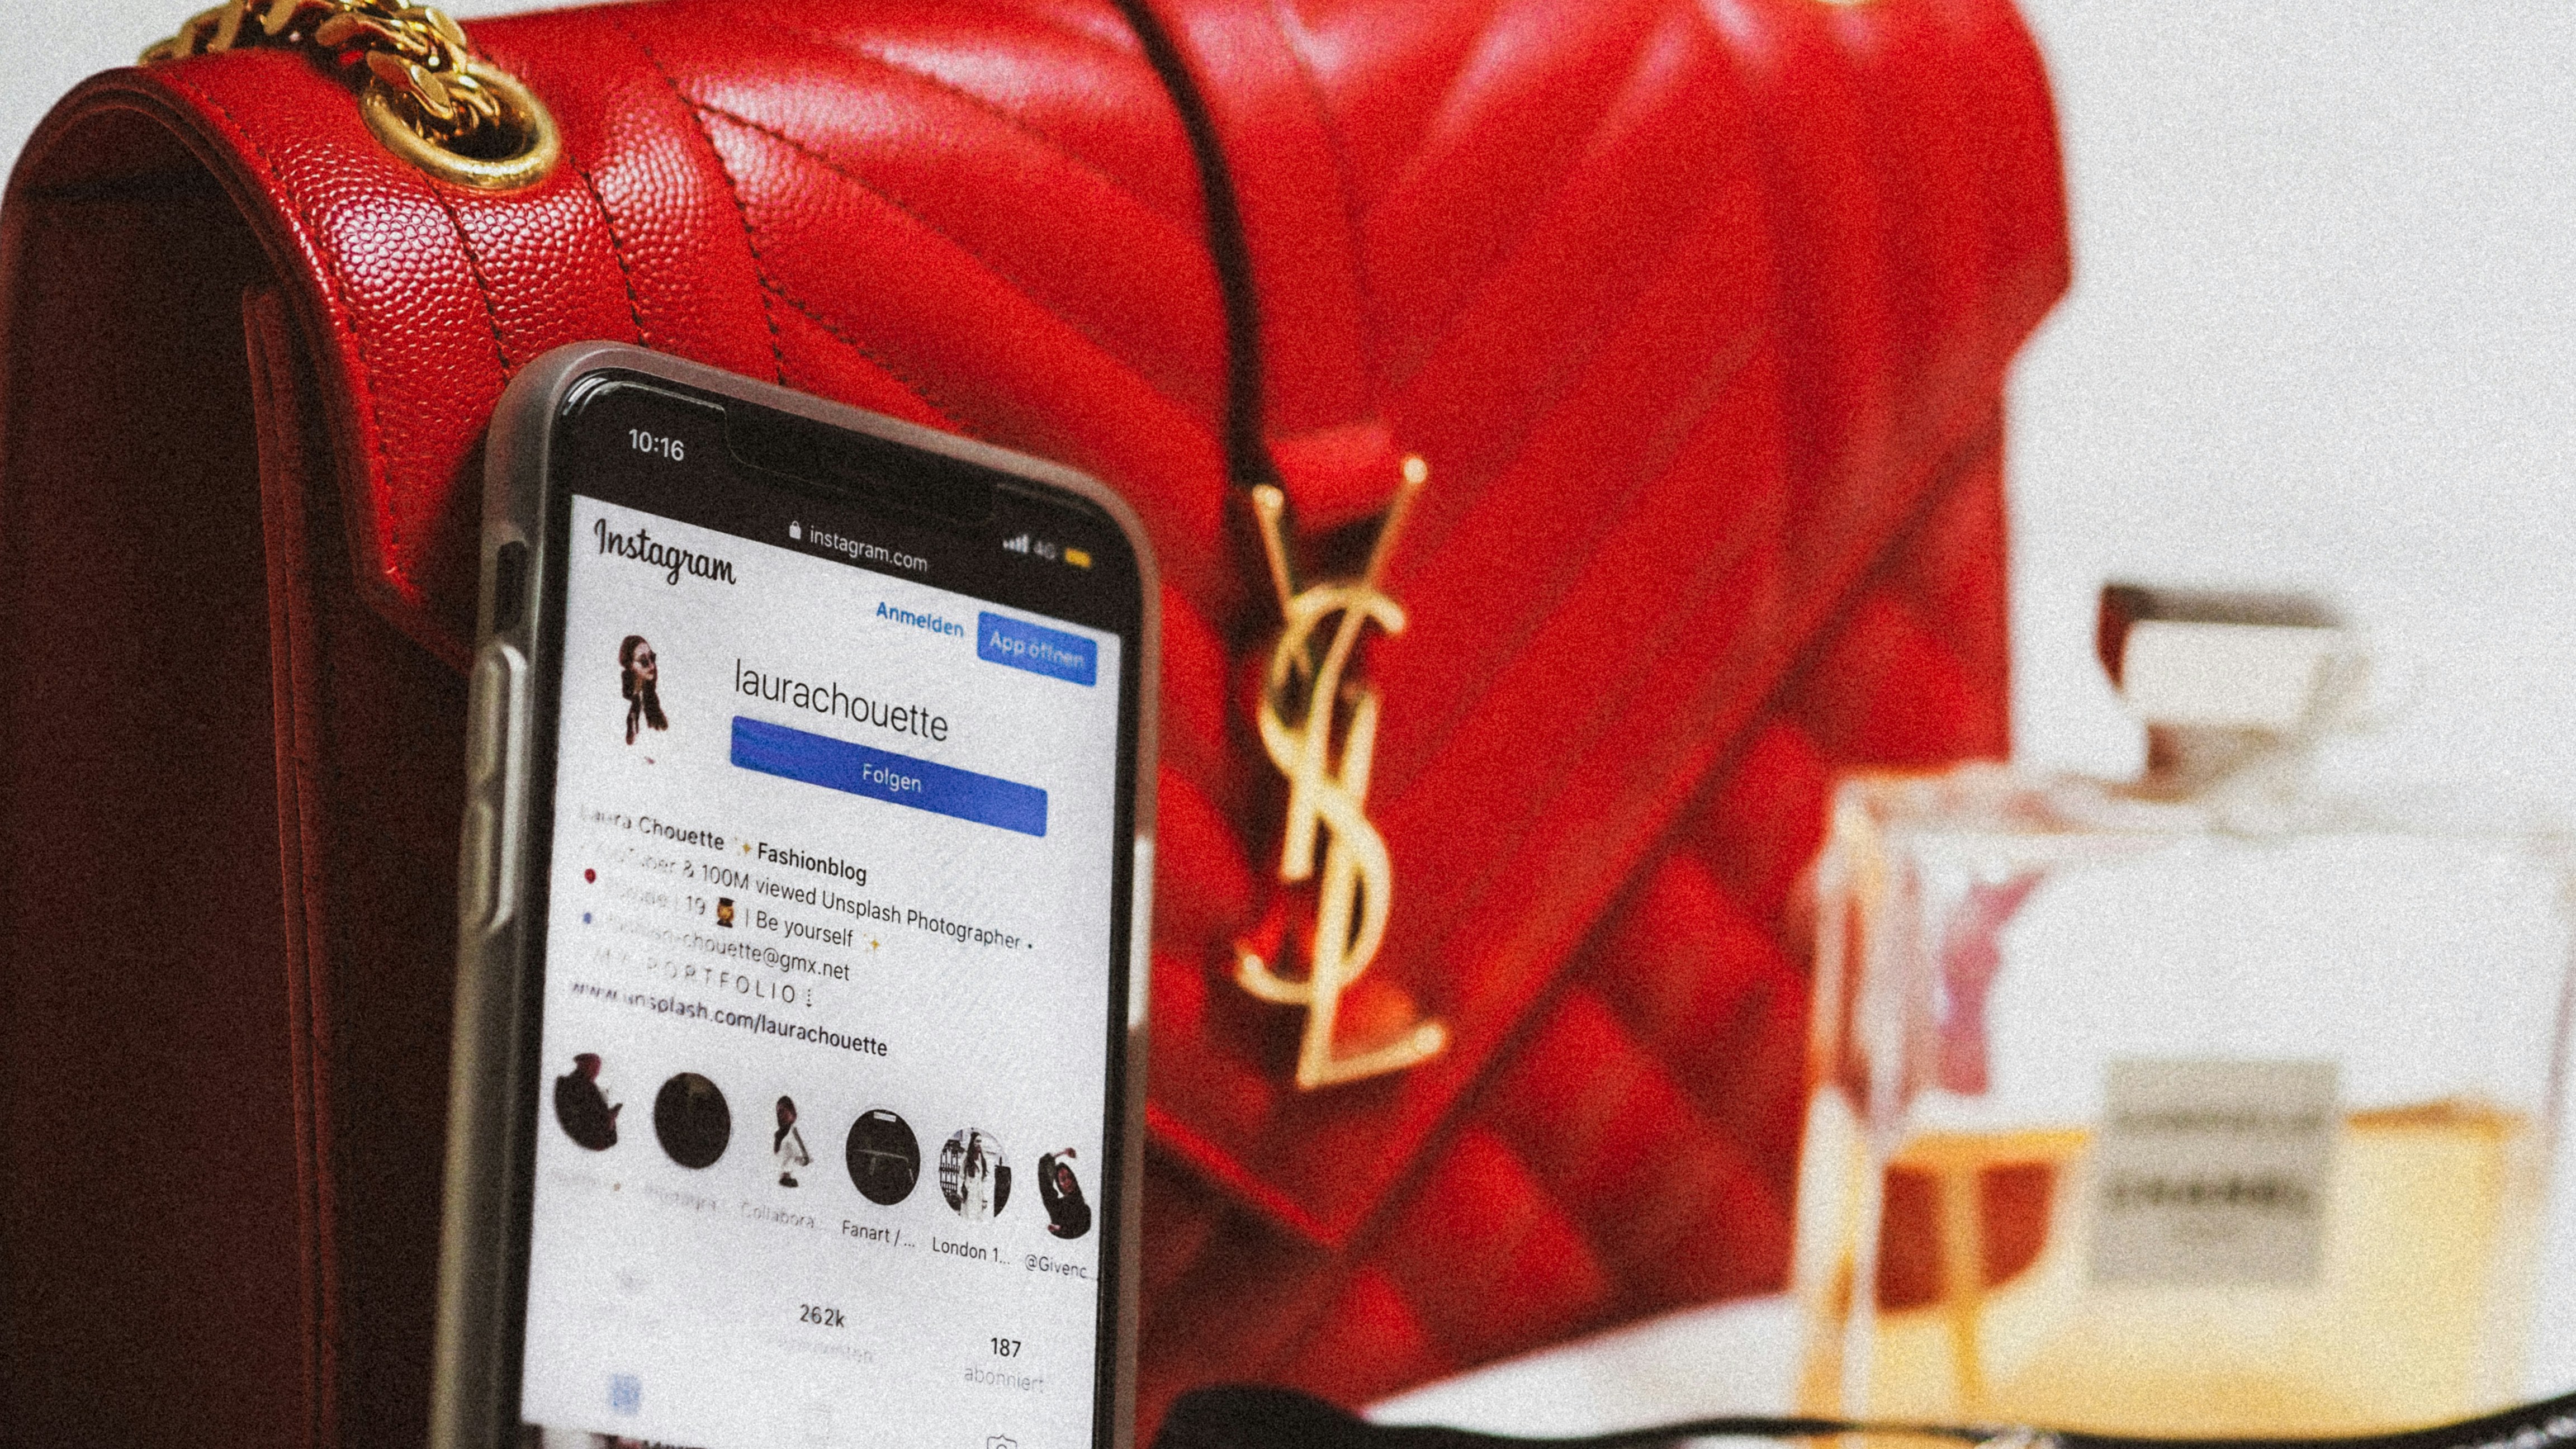
 Ever been praised for your new profile photo, uploaded to Insta, and then suddenly you look pixelated or blurry? You’re not alone. It doesn’t matter if your Instagram is public or available only to a close circle of friends — sooner or later, everyone comes across the blurry profile pic problem. It’s not just about looking good for Instagram. Your profile pic is pretty much your digital handshake, especially if you’re trying to make an impression with a public account. So why does it look crispy on your phone, but turns into a pixelated mess everywhere else? Let’s dig into what’s actually going on and how to keep your Insta shot looking slick no matter where people are looking.
You do not need an engineering degree for this, but there’s a little more to it than just taking a selfie. You can try these moves to keep your profile pic looking sharp and professional.
Step 1: Start with the Right Size
Instagram wants a 320 × 320 px pic. That’s the bare minimum. Go bigger—like 600 × 600 px. After all, nobody ever complained about too much detail.
Step 2: File Format Drama
JPEGs are fine for most stuff, but if you’ve got a logo or text, PNG is your best option. JPEGs get crunched too much by Insta’s compression, and your crisp lines turn into mush.
Step 3: Optimize Before Uploading
Before you hit upload, run your image through something like TinyPNG or Squoosh. This gives you more control over the final result, compared to Instagram’s automatic compression.
Step 4: Upload from the Instagram App, Not a Browser
You should not upload from your laptop browser. It is better to grab your phone, open the Instagram app, and do it there. Mobile uploads almost always look better.
Step 5: Avoid Filters or Edits After Upload
Messing with filters or cropping after you upload is not a good idea. Instagram doubles down on compression every time you fiddle. You should finish your edits before you upload.
Step 6: Preview Like a Pro
Finally, you should preview your pic as a circle before saving. Make sure your face (or your brand logo) isn’t half-missing.
Step 7: When in Doubt, Reupload
Did it come out all janky? You can always resize, try a different format, or just re-save the file. Sometimes, literally changing JPEG to PNG does the trick.
The short answer is that they want everything to load fast and not eat up their servers. So, they squish every image down, especially the tiny ones like profile pics. The system prioritizes speed and consistency over fine detail. Compression includes:
It’s all automatic, so once you post, you kind of lose control. That’s why you have to upload something “pre-squished” on your own terms.
The native app for iOS handles compression well, which ensures high-quality photos. The Android system might make some more compression on some devices, providing a medium to high quality level for uploaded photos. Unfortunately, when uploading using a browser, the quality is reduced to low to medium. Tip: Use the Instagram app for best results—especially when quality matters.
Solution: Bigger image (600×600), upload to your phone. Easy.
Solution: Ensure the image is a perfect square before uploading, and keep the subject centered.
Solution: Export your image in the sRGB color profile and avoid applying extra filters after upload.
Solution: Use PNG format and simplify details – make text big and bold, and skip tiny details.
Solution: Preview on phone, tablet, and computer. Upload from wherever matters most.
It is clear to most that taking someone’s Instagram profile pic isn’t just a harmless click-and-save move. There’s a ton of legal and ethical stuff tied up in it: privacy, copyright, and even Instagram’s own rules. Sure, it’s easy to download a photo, but just because you can doesn’t mean you should. If you’re not sure, just ask the person. Moreover, using someone’s profile pic to stalk, pretend you’re them, or try to make some money is illegal in addition to being unethical.
You should go for at least 600×600 px, square. Insta shrinks it to 320×320, but bigger files stay crisp.
You should start with high-resolution and upload from the app for the best results.
Yes. PNG is the best choice for graphics or logos; JPEG is fine for photos if you keep it high quality.
Yes, you can. However, the mobile app just does a better job with compression. Uploading from your computer sometimes turns your pic into a fuzzy mess.